
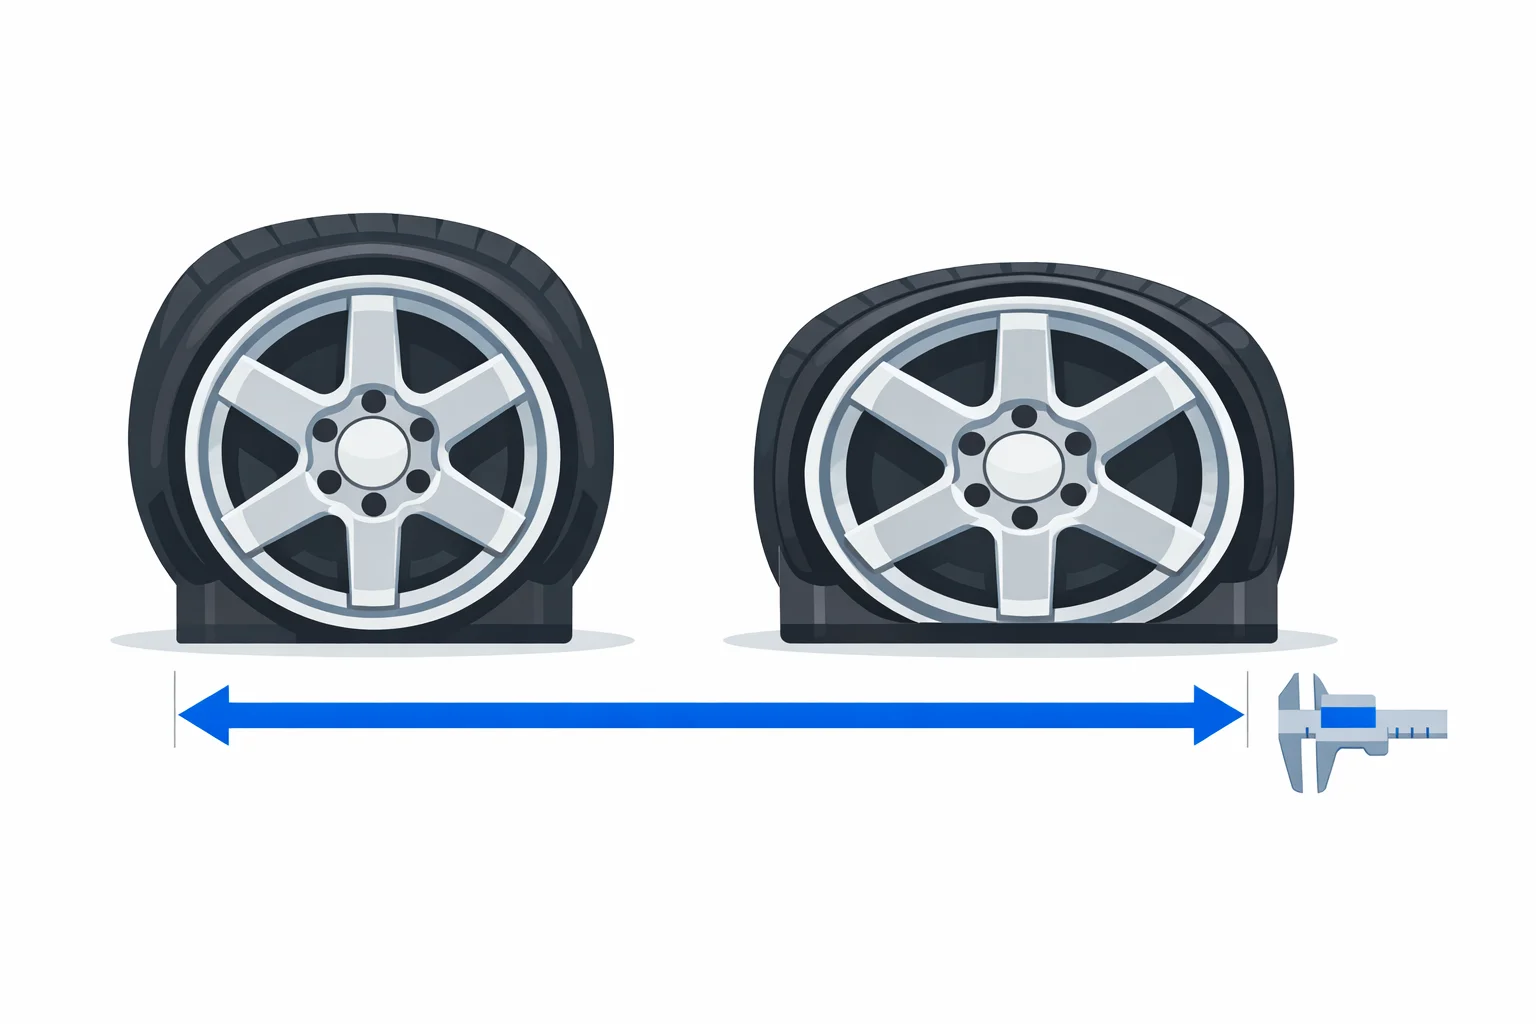
Every tire stretch calculator worth using runs on two numbers you can write on the back of a receipt: stretch = wheel width − approved maximum rim width, and section width changes 5 mm for every 0.5" of rim width you move away from the measuring rim. That second equation is the one that trips people up, because it points the opposite way to what your eyes tell you. Stretch a tire and it gets wider, not narrower. Here's the arithmetic behind that, the published rim-width ranges the grading is measured against, and the point where a stretched fitment stops being a styling choice and starts being a bill.
Stretching a Tire Makes It Wider, Not Narrower
The number moulded into your sidewall isn't a property of the tire. It's a measurement taken on one specific rim — the measuring rim, sometimes called the design rim. Mount that tire on anything else and the real section width moves, at a rate the industry treats as a constant: 5 mm per half-inch of rim width.
Take a 195/45R16, whose measuring rim is 6.0". Bolt it to an 8.0" wheel and you've moved 2.0", or four half-inch steps, so the section width climbs by 20 mm. The tire that says 195 on the sidewall now measures 215 mm across its widest point. Each bead has been dragged 25.4 mm outboard of where the engineer put it.
So why does it look narrow? Because the widest point moves. On its measuring rim, a tire bulges at roughly mid-sidewall and that bulge sits proud of the rim lip — you see rubber first. Pull the beads apart and the bulge flattens out; the widest point migrates down to just above the bead, and the tread — still the same slab of rubber — ends up sitting inboard of the rim flange. You see wheel first. What actually shrinks is the contact patch, not the tire.
The Approved Rim Width Is a Published Number, Not a Vibe
Both the Tire and Rim Association in the US and ETRTO in Europe publish a band of legal rim widths for every tire size, and tire makers design to it. ETRTO's theoretical rim rule puts the measuring rim near 0.85 × the section width for modern low-profile passenger tires — 225 × 0.85 = 191 mm, which is 7.5", exactly the measuring rim listed for a 225/45R17. Around that centre the approved band runs consistently from 0.5" below the measuring rim to 1.0" above it.
That upper figure is the line stretch is graded from. Anything at or below it is a normal fitment; every inch past it is stretch. Here are the numbers for 45- through 55-series tires, which covers most of what gets stretched:
| Section width | Measuring rim | Approved rim range | First stretched width |
|---|---|---|---|
| 165 mm | 5.0" | 4.5"–6.0" | 6.5" |
| 175 mm | 5.5" | 5.0"–6.5" | 7.0" |
| 185 mm | 5.5" | 5.0"–6.5" | 7.0" |
| 195 mm | 6.0" | 5.5"–7.0" | 7.5" |
| 205 mm | 6.5" | 6.0"–7.5" | 8.0" |
| 215 mm | 7.0" | 6.5"–8.0" | 8.5" |
| 225 mm | 7.5" | 7.0"–8.5" | 9.0" |
| 235 mm | 7.5" | 7.0"–8.5" | 9.0" |
| 245 mm | 8.0" | 7.5"–9.0" | 9.5" |
| 255 mm | 8.5" | 8.0"–9.5" | 10.0" |
| 265 mm | 8.5" | 8.0"–9.5" | 10.0" |
| 275 mm | 9.0" | 8.5"–10.0" | 10.5" |
| 285 mm | 9.5" | 9.0"–10.5" | 11.0" |
| 295 mm | 10.0" | 9.5"–11.0" | 11.5" |
| 305 mm | 10.0" | 9.5"–11.0" | 11.5" |
Profile shifts the whole band. Low-profile tires are engineered around wider rims, so add 0.5" for a 35- or 40-series and a full 1.0" for anything 30-series and below; take 0.5" back off for 65- and 70-series. That's why a 225/35R19 is approved from 7.5" to 9.0" while a 225/45R17 stops at 8.5" — same 225, different ceiling. The calculator above applies that shift automatically, and it's the single most common reason a hand-read stretch chart disagrees with a fitment guide.
195/45R16 on an 8-Inch Wheel, Line by Line
This is the pairing that shows up on half the Golfs and Civics at any Sunday meet, so it's worth walking all the way through. Tire: 195/45R16. Wheel: 8.0" wide.
| Step | Working | Result |
|---|---|---|
| Measuring rim | Table lookup, 195 mm, 45-series (no profile shift) | 6.0" |
| Approved band | 6.0 − 0.5 to 6.0 + 1.0 | 5.5"–7.0" |
| Stretch | 8.0 − 7.0 | 1.0" over |
| Rim width in mm | 8.0 × 25.4 | 203.2 mm |
| Mounted section width | 195 + (8.0 − 6.0) ÷ 0.5 × 5 | 215 mm |
| Bead pull per side | (8.0 − 6.0) × 25.4 ÷ 2 | 25.4 mm |
| Overall diameter | 16 + (195 × 0.45 × 2) ÷ 25.4 | 22.91" |
One inch past the approved maximum lands this squarely in moderate territory — the grade where the tread tucks inside the rim lip and a kerb strike hits aluminium instead of rubber. Note the diameter: 22.91" is what a 195/45R16 stands regardless of rim width, because the steel belts under the tread don't stretch. If you're changing tire size as well as wheel width, run the new size through our tire size calculator first — a 3% diameter change is enough to put your speedometer out.
How Much Stretch Is Actually Too Much?
There is no standards body answer here, because no standards body endorses any of it. What exists is two decades of accumulated fitment-community practice, and it sorts cleanly by how far past the approved maximum you are:
| Past approved max | Grade | What you see | Realistic use |
|---|---|---|---|
| 0" (in band) | Factory | Sidewall bulges proud of the rim lip | Anything, including winter and track |
| up to 0.5" | Mild | Sidewall close to vertical, no bulge | Daily driving on decent roads |
| 0.5"–1.5" | Moderate | Tread sits inboard of the lip | Fair-weather street car |
| 1.5"–2.5" | Aggressive | Obvious taper from bead to tread | Show use, low speed, smooth tarmac |
| over 2.5" | Extreme | Bead barely wrapped over the flange | Static display |
Pick your ceiling from how the car actually gets used, not from how it looks parked. If you commute through a pothole belt or see snow, stay inside the approved band — 0.0". A fair-weather street car tolerates 0.5" without much drama. A show car that drives itself to the show can live at 1.5". Past that you're building a trailer queen, and you should budget for it as one. Wheel width is only half the fitment question, too; offset decides whether any of it clears your strut, and our wheel offset calculator handles that side.
The Bill Arrives From the Wheel, Not the Tire
The expensive failure mode of stretch isn't a blowout. It's that you've deleted the rubber overhang that normally shields the rim lip. On a factory fitment the sidewall bulge is a 10–20 mm crash structure; on a moderate stretch the lip is the first thing a pothole edge touches. Straightening a bent cast alloy typically runs $100–$200 a corner, and a lip repair on a multi-piece or forged wheel commonly lands in the $300–$600 range — per wheel, and often more than the tire cost.
Bead leaks are the other recurring cost. A bead seated at an angle it wasn't designed for holds pressure imperfectly, so stretched setups tend to bleed a few psi a week and get rescued with bead sealer. That's a $15 fix that needs redoing every time a tire comes off. And mounting outside the published rim range voids the tire manufacturer's warranty outright — there is no grey area, and no shop will argue it for you.
Two mistakes cost people the most money. The first is buying wheels before tires: an 11 kg 9.5" wheel that looked perfect online leaves you choosing between a 2.0"-over stretch and a tire that won't clear the arch. The second is stretching one axle only — a moderate front on a factory rear gives you two different cornering stiffnesses and a car that snaps loose at the limit. Because a stretched tire also needs more pressure to keep the bead loaded, check the numbers against a normal fitment with our tire pressure calculator before you settle on a figure.
Where Stretched Fitment Came From — and Where It's Illegal
The look started as a workaround, not a style. Japanese grassroots scenes in the 1980s and 90s — kyusha, later the onikyan extreme-camber crowd — wanted large diameter wheels under bodywork that had no room for them. Running a narrow tire on a wide rim pulled the tread inboard and bought the clearance that rolling fenders couldn't. The technique reached Europe through the VW scene in the early 2000s and hit the US in the 2008-era "hellaflush" wave, by which point the clearance justification had mostly been replaced by aesthetics.
Legality splits sharply by country. In Germany a wheel and tire combination has to be covered by an ABE or a Teilegutachten and entered in the vehicle papers, and TÜV rejects any combination outside the tire maker's approved rim width — stretch is simply not registrable, and driving on it can invalidate insurance. Much of the EU works the same way. The US has no federal equivalent: NHTSA regulates tire construction and labelling under FMVSS 139, not which rim you bolt it to. That leaves state inspection rules, the manufacturer warranty you just voided, and your own liability if a bead lets go. The U.S. Tire Manufacturers Association is unambiguous that tires should be fitted only to rims within the approved width range.
Frequently Asked Questions
If you're still choosing hardware rather than checking a combination you already own, work the problem backwards: settle the wheel diameter and offset first with the wheel size calculator, then bring the width here and let the table at the bottom of the tool show you which tire widths land in the band and which ones don't.